
XrmToolBox is a free Windows application that you can connect to your Microsoft Dynamics 365 for Sales to assist in customizing your CRM system.
In this article, I will describe how to install XrmToolBox and give an overview of some of its uses for Dynamics 365 for Sales.
How to Install
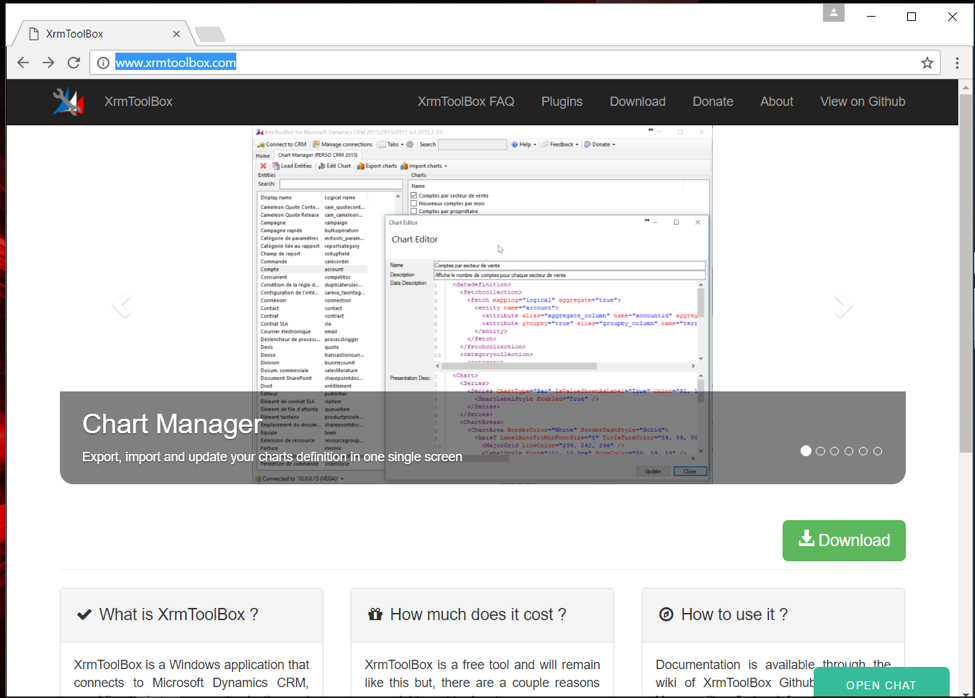
Getting the XrmToolBox is very easy. Go to http://www.xrmtoolbox.com/ and click on Download. Once the zip file download has completed extract the files to a convenient location and run the XrmToolBox.exe. Once the XrmToolBox is running click on Connect to CRM to setup the connect your Microsoft Dynamics 365 for Sales system.
Plugin Store
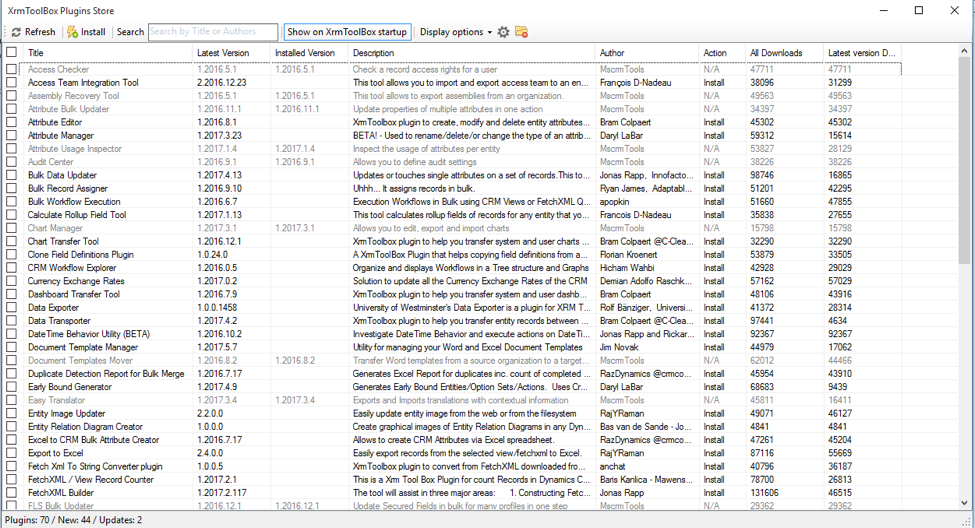
This application comes with over 50 plugins to assist with customization and configuration. You can also easily create and share your own custom plugins.
XrmToolBox
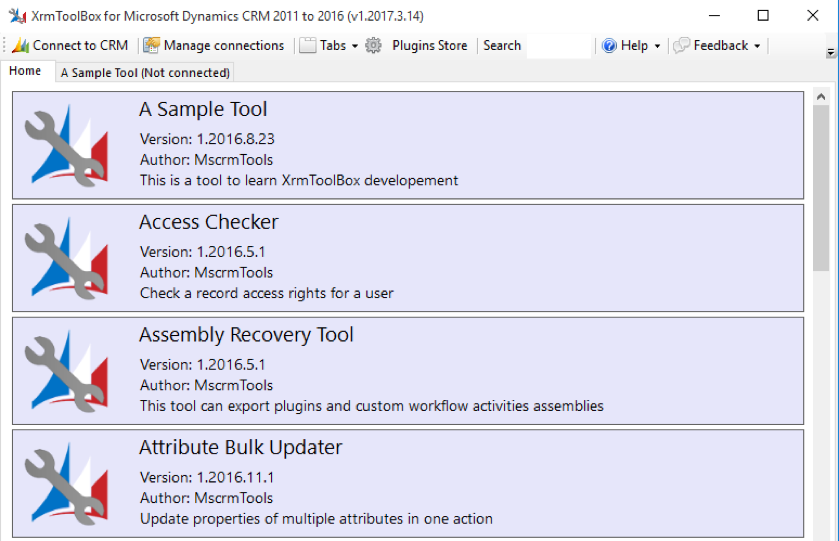
Here are a few examples of how the XrmToolBox can help you.
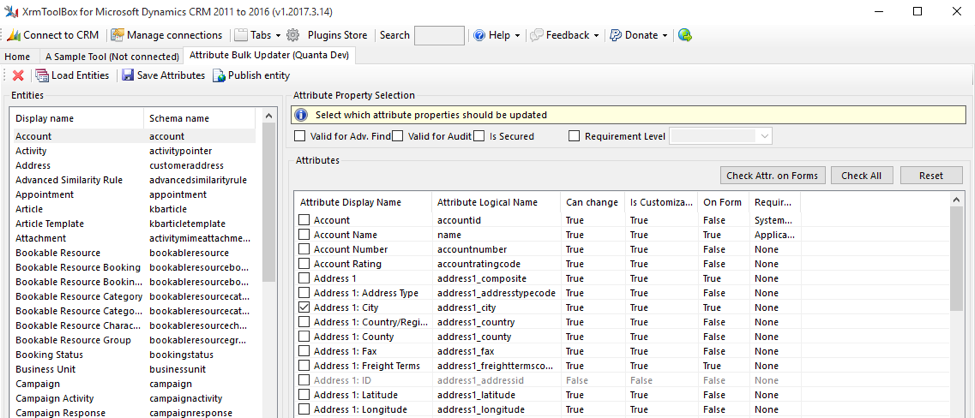
Attribute Bulk Updater
You can very easily go to any field in your Dynamics system and make changes to its attributes. This can help to modify several files to be required, audited, add to advanced find and so on.
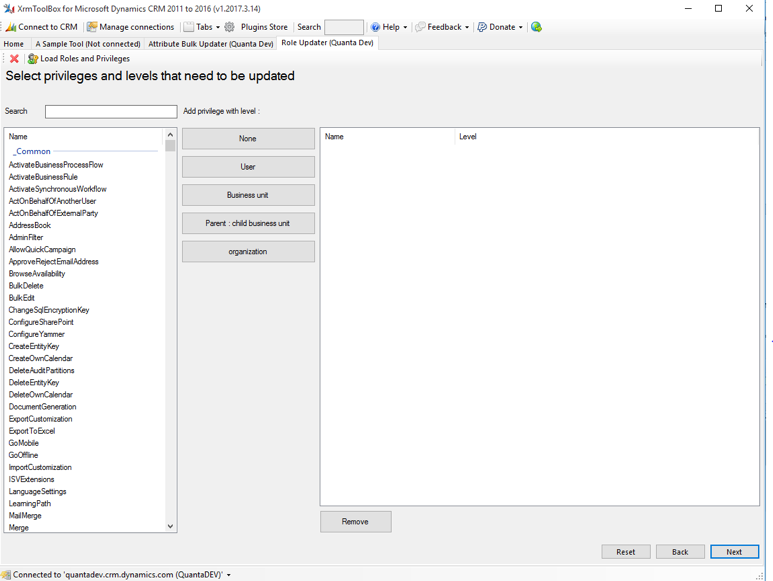
Role Updater
This will allow to easily modify Security roles in your Dynamics system. You can select your security role then select the privilege and level and quickly update your selected security profile.
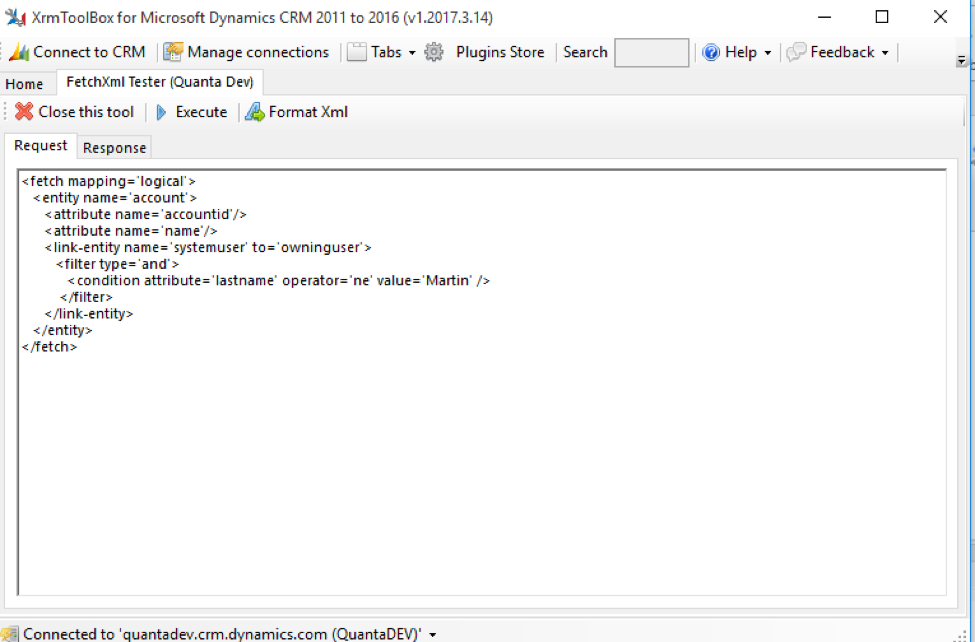
FetchXML Tester
This a very helpful tool for developing FetchXML for your Dynamics system. This will help you with code and test your FetchXML code. Here is an example to show all accounts where the owning user’s last name is not equal “Martin”.
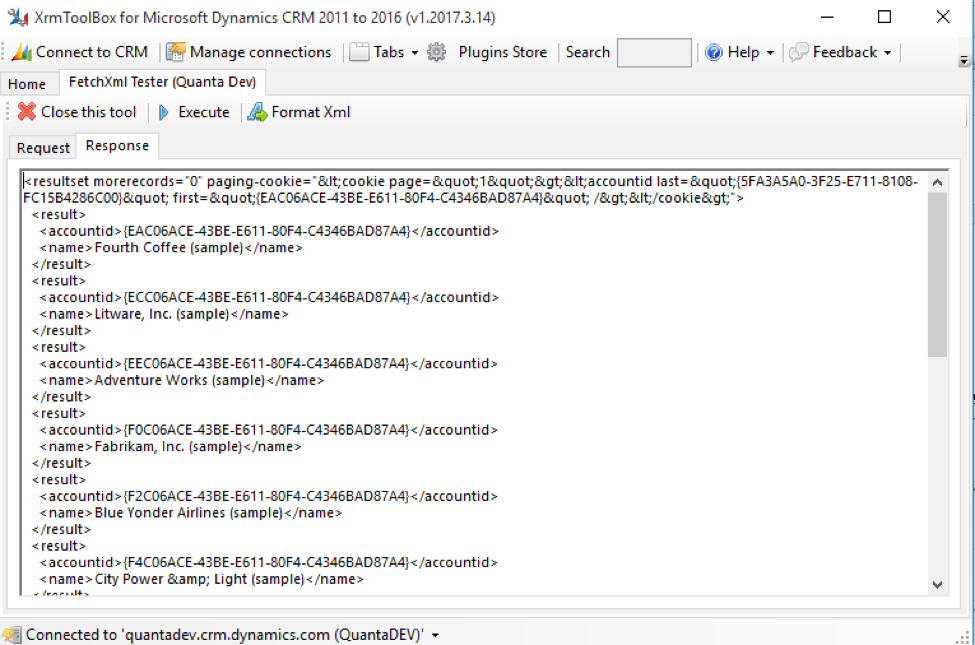
You can click on Execute to test the code and see the results.
If you have questions about XrmToolBox, or its use with Microsoft Dynamics 365 for Sales, please contact us.